Behind the Mirror is a communication installation composed of two Two Way Glass Mirrors and two monitors. The people on the opposite side of the installation can only see themselves in the mirror at first, but when they communicate by touching the buttons around the mirror, they can finally see each other in the mirror.
The fear of not getting a response and the fear of being deceived is the social conflicts of many people. We are all eager to establish a link of trust with each other. Behind the Mirror is intended to be a way of dialogue that can confirm each other's minds. By initiating or accepting invitations and confirming the other's "key", both parties can see each other in the end. At the same time, it also wants to express that the establishment of a relationship requires the joint efforts of both parties, and the firm choice and understanding of each other is the "private key" into the other's heart.

Material: Raspberry Pi 4B, Makey Makey
IDE: PyCharm
Programming Language: Python
Links:
This installation was inspired by the concept of Three-Way Handshake in the TCP(Transmission Control Protocol) that I learned in the professional course in university. The meaning of the Three-Way Handshake itself is to confirm that the computer communication link is two-way. In the Behind the Mirror installation, I apply the concept to people to reflect the current social communication problems.
Meaning in this installation
Step 1 In the first step, User A wants to establish a connection with user B, so A sends a signal which informs I want to chat with you. Besides, A will send A’s code for further confirmation.
Step 2 User B responds to the user A’s code and request with signal which informs I want to chat with you. Then B will send B’s code and another signal which informs I’m ready to chat.
Step 3 In the final part User A responds to user B’s code and send the signal which informs I’m ready to chat. Then they will start to communicate.
In order to find a suitable form of expression that combines three-way handshake and communication between people, I brainstormed to help my idea generation.

Based on the ideas generated by the brainstorming, I screened five sketches, and after screening, I finally chose the one that can best expresses my ideas.


Programming
The code was completed by me and a friend of mine. We set up an event jump after each key is triggered, and use 12 logic events to trigger the event when the jump is made.

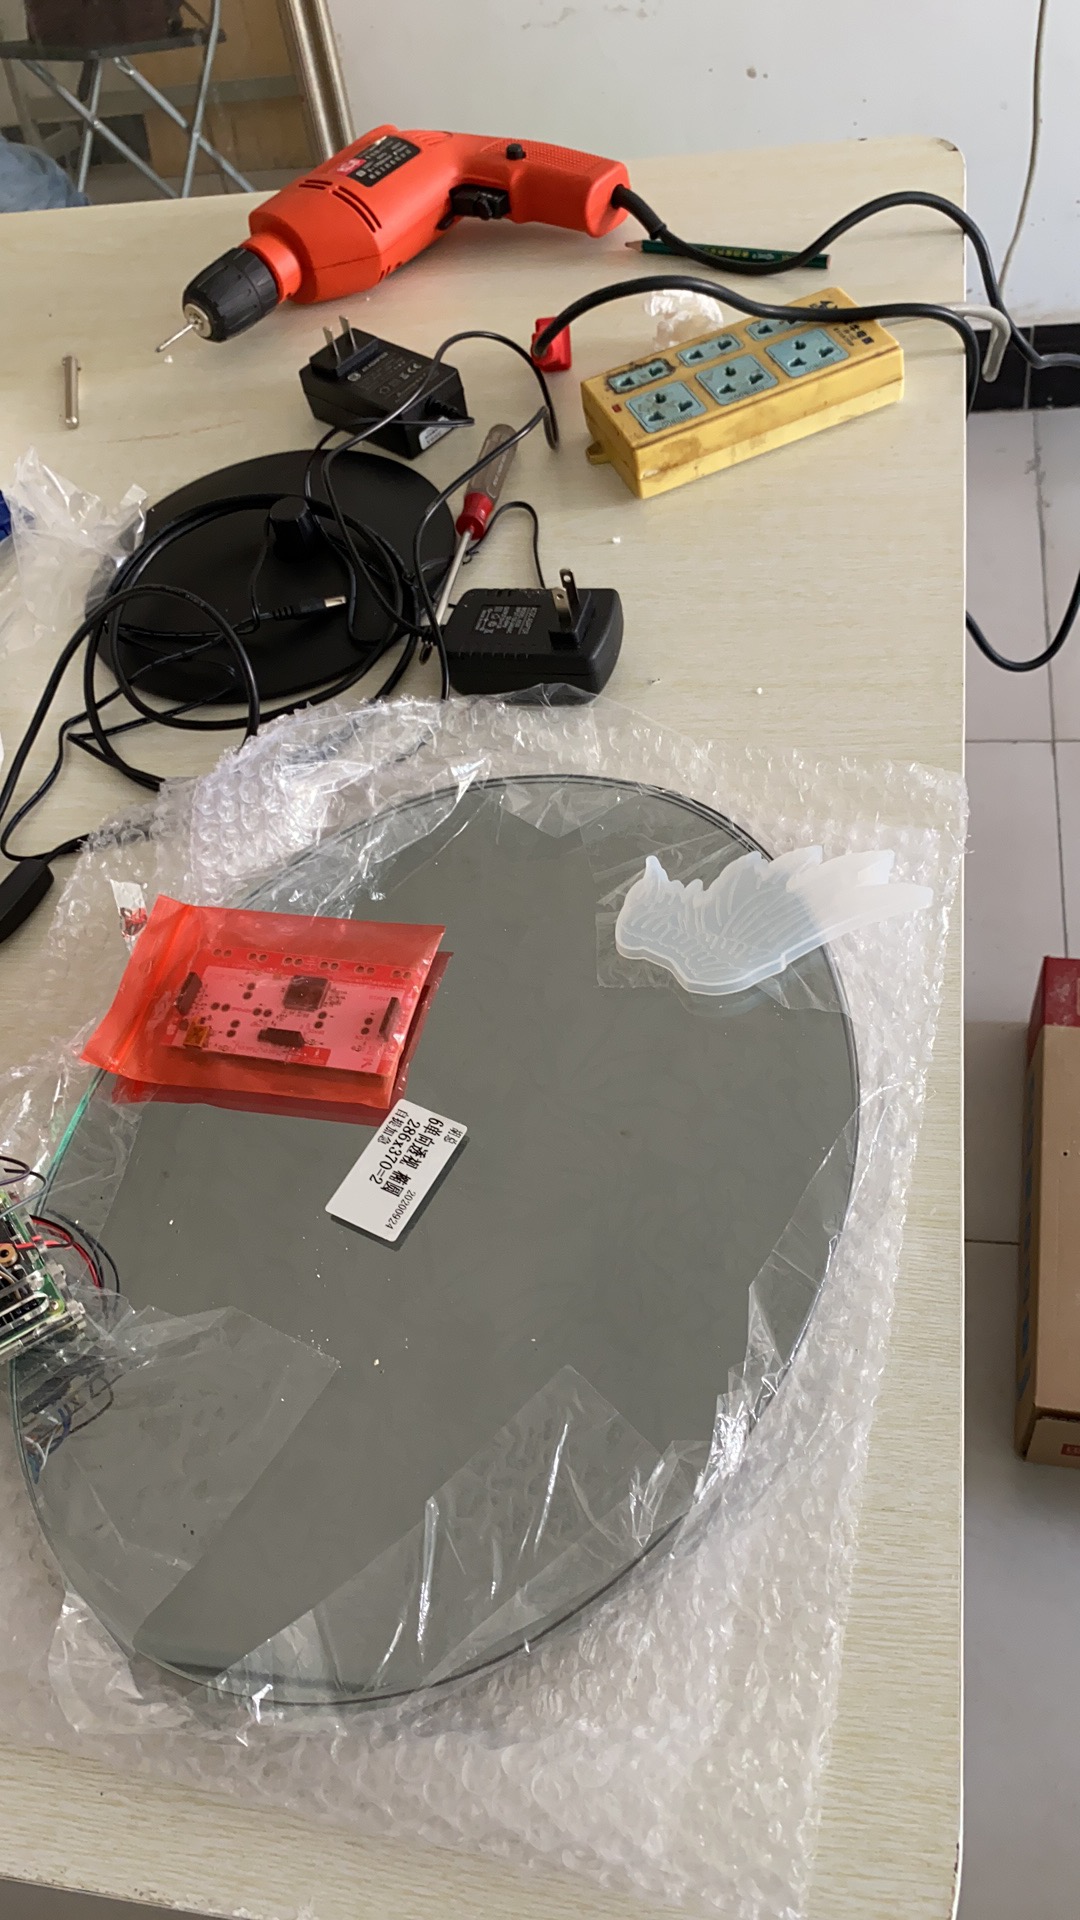
Hardware Installation
Link the lights, light strips and Raspberry Pi, punch the mirror frame, and cut the mold into a lampshade.


Program Testing
The program has been modified 9 times iteratively to ensure that the communication process can be completed, as well as dual-screen display.

Camera Testing
Confirm that the camera can be used, and display the image on the screen with an appropriate size and brightness.


Assemble Installation
Assemble mirrors, mirror frames, monitors, curtains, Raspberry Pi, Makey Makey and other hardwares. Try to make the installation stand firmly on the shelf.


Multiple Modifications
“Growing Up”
Monitors need to be standed on the shelf
Since the monitors need to be placed horizontally, their own supporting shelf cannot be used, so I used a bookend as a tool to link the two monitors and stand them on the shelf below. At first I only used two bookends, but later found that the length was not enough (as shown on the left), so I used four bookends and wrapped them with tape to make the outside of the monitors even with the lower shelf (as shown on the right).


Need to make shades for the lamps
In the design process, I designed buttons in the shape of hearts and wings, that is, add a lampshade to the outside of the LED lamp. Considering the special shape of the lampshade and my hope that the lampshade can blur the light, I finally used silicone mold as the lampshade. The molds are cut intto a suitable shape and pasted on the frame.

Need to meet the current loop of the touch device
Because in this installation, I used Makey Makey as the trigger, so I needed to follow the working principle of Makey Makey: On one hand, I glue the tin foil around the lampshades, connected it with the makeymakey through wires and alligator clipping at the edge, On the other hand, I connected the metal ring , metal chain and alliator clippings with Makey Makey. So users can interact with the installation by wearing a ring and then touching the lampshade.


Reflection
1. The sources of inspiration for artworks are diverse. In this art installation, I tried to use my undergraduate knowledge in the computer field as my inspiration to create an interactive art installation. This interdisciplinary cooperation has brought me a brand new experience. I think it is the charm of interactive art.
2. Trying to create things with different materials will have unexpected results. For example, I use a rubber model as a lampshade. This model was originally used as a mold for making epoxy crafts, but it is surprisingly suitable for me to use it as a lampshade. The hardness and translucency are very suitable. In addition, I use the bookend as a support for the monitor and hang the frame with fishing line. These special attempts will become my future learning experience and wealth.
3. During the production process, I learned and tried many different knowledge and skills, such as the combination of two way mirror and monitor to create a magic mirror, and learning the use of hardware such as Raspberry Pi. Although I have learned how to program during my undergraduate course, through this project, I think my programming ability has also been improved. In addition, during the production process, I also used an electric drill to drill holes for the mirror frame, use hot melt glue and double-sided tape to glue the mirror and frame, design the wiring arrangement and so on. These are all things I haven’t touched in my undergraduate school before. I learned them all in this project. So that I am very happy and I believe that these skills will help me in future studies, especially when making installations.
